Prepare and run your first game
This walkthrough starts with an installation open in your browser. The desktop
default address is http://localhost:8080; the Docker installer usually uses
http://localhost:8081.
You can create and play your content manually without configuring AI. Generation, PDF imports and chat require an AI provider.
1. Choose a starting point
| Your goal | Start with |
|---|---|
| Run a one-shot tonight | A campaign with a few scenes |
| Build a reusable setting | A Lore, folders and templates |
| Use custom character sheets | A game system with PC / NPC / Enemy templates |
| Adapt a PDF adventure | A campaign, then PDF import |
Lore and game system associations are optional. However, choose your system before filling many character sheets: it defines their fields.
2. Create a campaign
Open Campaign → New Campaign. Enter its name, pitch and player count. Optionally select a setting and a system, then confirm.
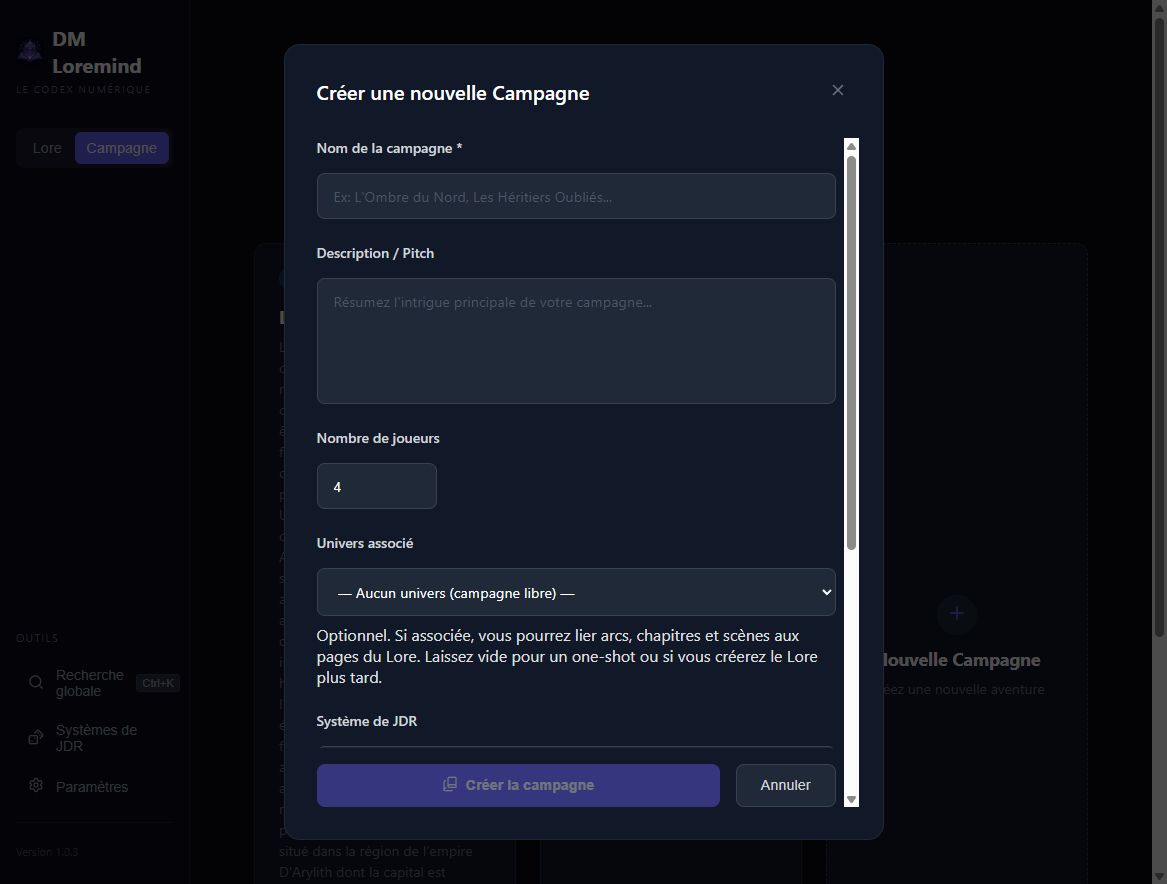
Start with Scene or the + beside Scenes in the tree. A title, a situation and something the players can do are enough for a first scene. Add arcs and chapters as the adventure grows. See Create and organise a campaign.
3. Prepare playable content
- Create two or three scenes: a hook, an obstacle and a possible outcome.
- Fill player narration and keep secrets in GM notes.
- Add the NPCs you need, and bestiary enemies for combat encounters.
- Connect scenes with narrative branches.
- Check Next steps on the campaign and use Fix to address reported gaps.
You can also create a quest to track an objective. Guided preparation checks structure and some references; it does not assess the quality of your story.
4. Open your group's playthrough
On the campaign, open My playthroughs. Use an existing playthrough or create one, then add this group's PCs. A campaign contains the scenario; a playthrough contains the game state for one group.
From that playthrough, start a session or resume the active one. Session mode brings together the journal, scenes, character sheets, dice and game resources.
5. During and after the session
Pin the current scene from the Scenes tab. Record decisions and events in the journal. Update quests, facts and clocks to reflect what happened.
Complete the journal before ending the session: it becomes read-only afterwards. Next time, Prepare the next session on the playthrough helps you pick up the story.
Finally, create a ZIP backup from Settings. The PDF is a preparation booklet; the ZIP allows you to reimport your data into Loremind. Screenshots in these guides use the French UI.
Beta shortcuts
You can prepare a first chapter with the Five-room dungeon method without configuring AI, then consult Editor review. The campaign home's Play block selects your playthrough and starts or resumes a session. My playthroughs and the tree's Playthroughs branch remain available.